
 English
 Français
 русский
 Español
 Português
 عربى
 italiano
 Polskie
 Deutsch
 Nederlands

Plumbing Pressure Test Guide: Methods, Steps, and Practical Checks for Installers
Content
- 1 What a Plumbing Pressure Test Actually Proves
- 2 Water or Air? Choosing the Right Method
- 3 Step-by-Step: Running a Plumbing Pressure Test
- 4 Pressure, Time, and What the Gauge Is Telling You
- 5 Pressure Testing PPR Pipe Systems
- 6 HDPE, Larger Mains, and Longer Test Sections
- 7 Common Mistakes and Safety Habits
- 8 Documentation Makes the Test Useful Later
A plumbing pressure test is one of those jobs that looks simple from the outside: cap the pipe, add pressure, watch a gauge. In practice, it is a careful check of two things at once, strength and sealing. Before pipes disappear behind walls or under slabs, the test gives you a controlled way to find a weak joint, a damaged fitting, or a small weep that would otherwise become someone else's repair bill. The goal is not to pass a gauge. It is to prove that the installed system can hold its design pressure without leaking, and to leave a record that says so.
Because test requirements vary by project, material, and local code, the guidance below is practical rather than prescriptive. Use the specified test pressure and hold time for your job. What follows is how to plan, run, and read a pressure test so the result means something.
What a Plumbing Pressure Test Actually Proves
A pressure test verifies the integrity of a closed pipe section under pressure. It can be a hydrostatic test, using water, or a pneumatic test, using air or nitrogen. Both look for the same failure modes: leaks at joints, fittings, valves, and connections; deformation or movement under load; and, in some cases, weakness in the pipe wall or a fusion joint.
The test is not a substitute for correct installation. It will not fix a poorly aligned fitting, a contaminated fusion surface, or a pipe that has been stepped on. It can, however, reveal those problems before concealment. That is why the best time to test is after the system is complete enough to be closed off, but before insulation, backfill, ceilings, or finishes make access difficult.
Two ideas keep the test honest. First, the test section must be isolated from the live water supply and from fixtures that cannot take the test pressure. Second, the gauge must be suitable for the range being used. A gauge that spends its life near the top of its scale is hard to read and easier to misread.
Water or Air? Choosing the Right Method
Hydrostatic testing is the default for many plumbing systems because water is easy to see, carries less stored energy than compressed air, and behaves predictably in most occupied buildings. Pneumatic testing has its place, especially where water would freeze, where water damage is unacceptable, or where the system must stay dry. It also demands more discipline: compressed air stores energy, so regulators, relief valves, exclusion zones, and local rules matter.
| Method | Best for | Strengths | Watch-outs |
|---|---|---|---|
| Water | Most domestic and commercial plumbing, rough-in work | Easy leak spotting; lower stored energy; familiar to most crews | Water damage, freezing risk, heavy fill; trapped air can mask leaks |
| Air or nitrogen | Water-sensitive or cold-weather sites | No water damage; useful for dry systems | High stored energy; strict controls; small leaks are harder to see |
Whatever the method, read the project specification before you fill or pressurize. Some standards limit pneumatic testing on certain pipe materials or sizes. Some require a preliminary low-pressure check. Others set different hold times for plastic and metal systems. Those details are not paperwork; they are the difference between a valid test and a hopeful guess.
Step-by-Step: Running a Plumbing Pressure Test
The sequence matters as much as the final reading. A rushed fill can trap air, and trapped air can make a stable system look as if it is losing pressure. Work through the following steps in order, and pause whenever the gauge or the pipework tells you something unexpected.
- Confirm the scope and the standard. Identify the section under test, the design pressure, the required test pressure, the hold time, and the acceptance criteria. Check whether valves, fixtures, expansion joints, or equipment must be isolated or removed.
- Isolate and prepare. Close valves, disconnect or protect fixtures, and cap or plug every opening. Use proper test plugs and restraints. Make sure joints are fully made and, for heat-fused plastic systems, cooled according to the manufacturer's instructions. Support the pipe so it cannot whip or sag when pressure is applied.
- Fill slowly and vent the high points. For a hydrostatic test, fill from a low point and open high-point vents so air can escape. Close the vents only when water runs steadily. For a pneumatic test, use clean, dry air or nitrogen through a regulator and confirm that relief protection is in place.
- Pressurize in stages. Raise the pressure gradually, stopping at sensible increments to watch the gauge and inspect accessible joints. Do not slam the system to full test pressure. If the gauge falls immediately, stop and find out why before adding more pressure.
- Let the reading stabilize. Plastic pipe, in particular, can creep and change dimensions under pressure. Temperature changes can also move the gauge. Record the starting pressure and the pipe or ambient temperature, then hold for the specified period.
- Inspect, do not just stare at the gauge. Walk the test section. Look for weeping at joints, fittings, valves, and temporary caps. For air tests, use a compatible leak-detection solution on suspect joints. Never use a flame or a bare hand as a leak detector.
- Record the result and depressurize safely. Note the test pressure, hold time, temperature, gauge identity, and any observations. Release pressure in a controlled way, then remove caps and restore the system. If the test fails, repair the cause and repeat the test rather than tightening a joint under pressure.
Pressure, Time, and What the Gauge Is Telling You
There is no universal number for every plumbing pressure test. Local codes and project specifications set minimum test pressures and hold times, and manufacturer instructions can add further limits. A common starting point for domestic rough-in work is 1.5 times the design working pressure, but many jurisdictions set their own minimum and some systems require a longer or two-stage test. The specified number always wins.
A small drop on the gauge is not automatically a leak. Water and plastic pipe respond to temperature; a system filled with cold water can gain pressure as it warms, or lose pressure as it cools. Trapped air can also absorb pressure changes. That is why the test record should include temperature and why the gauge should be read after the system has had time to stabilize. If pressure continues to fall after stabilization, treat it as a signal to investigate, not as a number to correct by topping up.
Use a calibrated gauge with a range that puts the test pressure in the readable middle of the dial. A gauge that is too large for the job can hide small changes; a gauge that is too small can be damaged. Keep the gauge and its connections outside the danger zone, and never stand over a cap or fitting while pressure is being raised.
Pressure Testing PPR Pipe Systems
PPR systems are usually joined by heat fusion, and the quality of those fused joints is central to the test result. Give every joint time to cool before testing. Rushing a fusion joint is like testing a glue line before it has set: the gauge may hold for a while, but the joint has not reached its working condition. Isolate expansion loops and anchor points as the specification requires, and make sure the test does not put stress on valves or equipment that is not rated for the pressure.
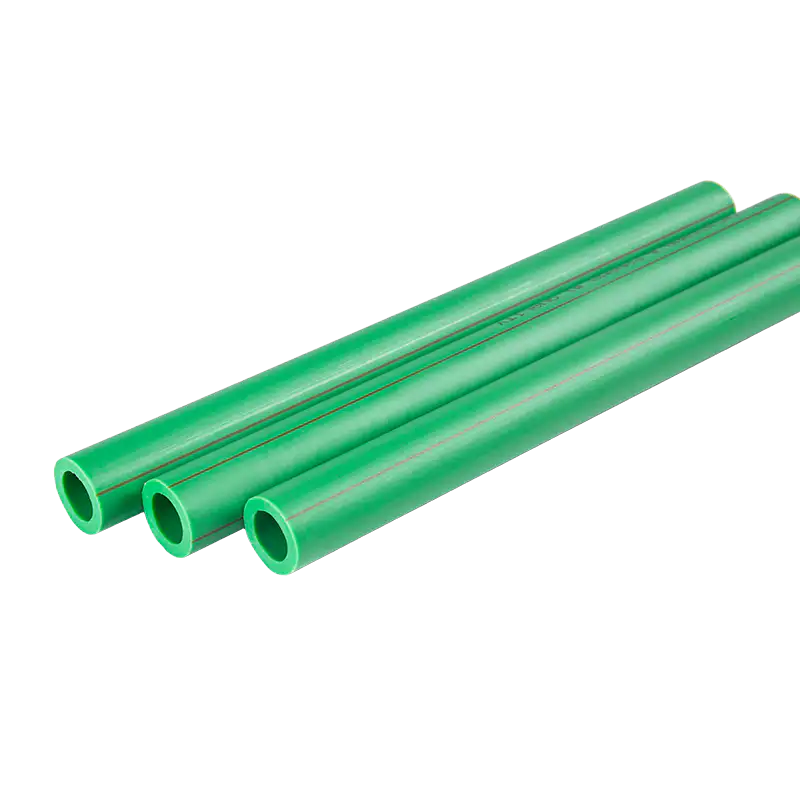 Custom PPR Pipes for Hot and Cold WaterCustom PPR pipe range in single-layer, double-layer and antibacterial options, with matching fittings for consistent fusion-welded potable water lines.View Product →
For domestic water supply, PPR pipe and matching fittings should be treated as one system. A pipe that meets the pressure rating can still fail a test if the fitting is mismatched, the fusion temperature was wrong, or the joint was disturbed while cooling. During the test, watch threaded transitions and valve bodies as carefully as the pipe itself. If a valve is used only for isolation, confirm that it is rated for the test pressure or remove it from the test section.
 PPR Valves for Isolation and Flow ControlPP-R ball valves, stop cocks and union valves with fusion or threaded connections for isolation points and transitions in hot and cold water systems.View Product →
In our experience at Zhongsu, the test is only as good as the preparation behind it. A clean fusion surface, the right heating time, and a joint that is left alone while it cools will do more for the result than any last-minute adjustment at the gauge. The same principle applies to repair work: a small addition can introduce a new joint, a new thread, or a new valve into an otherwise proven line, so test the changed section with the same care as a new installation.
HDPE, Larger Mains, and Longer Test Sections
HDPE systems bring their own rhythm to pressure testing. Butt-fusion, electrofusion, compression, and socket-fusion joints all need the correct preparation and cooling time before pressure is applied. Large-diameter pipe also holds a lot of water, so filling and venting take longer, and a change in ground or air temperature can show up on the gauge. Restrain temporary caps and test heads properly; the stored energy in a large pressurized section deserves respect even when the medium is water.
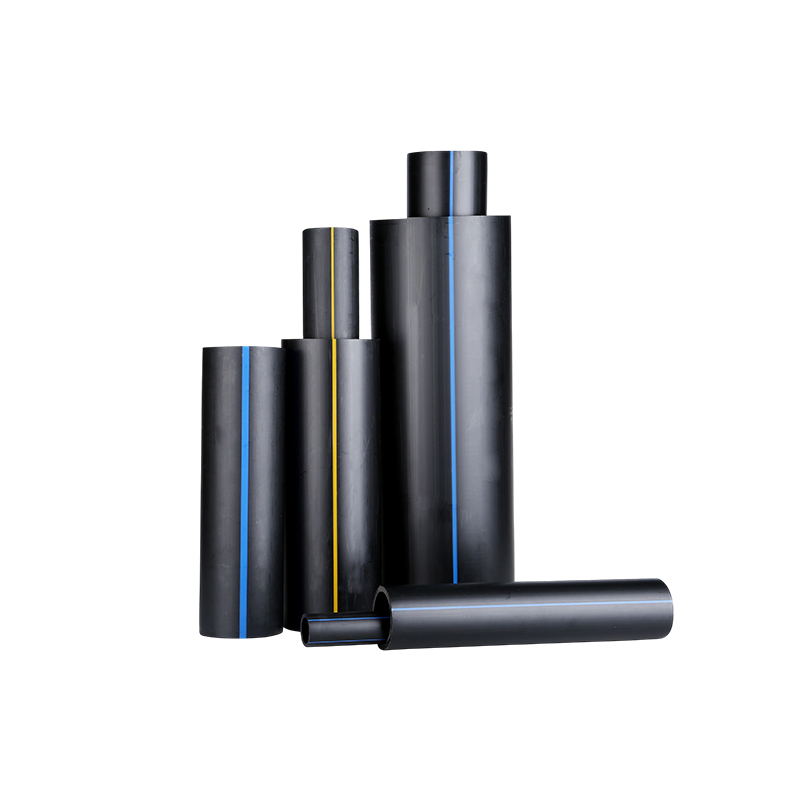 ZHSU HDPE Pipe for Water SupplyPE100 HDPE pipe from 20 mm to 1200 mm with fusion joints and pressure ratings for municipal, agricultural and other water transmission work.View Product →
For long mains, test in sections that can be filled, vented, and inspected safely. Record the pressure at both ends when practical, especially on long runs where elevation and temperature are not uniform. If a joint is suspect, isolate it rather than increasing pressure to prove a point. For a wider look at how HDPE behaves in demanding water transmission work, this discussion of high-toughness HDPE pipes for water transmission is a useful companion to the test procedure.
Common Mistakes and Safety Habits
Most failed pressure tests are not mysterious. They come from a short list of avoidable problems: trapped air, joints tested before they are ready, gauges that are hard to read, temporary caps that are not restrained, and pressure applied faster than the system can equalize. A leak at a test cap can look like a leak in the pipe. A change in water temperature can look like a failure. A gauge that has been dropped can look like a leak that is not there.
- Do not test a system with fixtures connected unless they are rated for the test pressure.
- Do not use a pneumatic test as a casual substitute for a hydrostatic test; follow the specified method and safety controls.
- Do not tighten a leaking joint while it is under pressure.
- Do not ignore a slow, steady pressure drop after the stabilization period.
- Do not conceal or backfill a test section before the result has been reviewed and recorded.
Good housekeeping helps too. Keep the test area clear, mark the boundaries of a pneumatic test, and keep people who are not involved in the test away from temporary caps and fittings. A pressure test is a controlled activity, not a background task.
Documentation Makes the Test Useful Later
A pressure test that is not recorded is difficult to defend. A simple record can include the system or section tested, the material and joint type, the test medium, the gauge used and its calibration status, the starting and ending pressure, the temperature, the hold time, and the result. Photographs of the gauge and the test setup are helpful, especially for concealed work. If a witness is required, arrange it before the test, not after the pipes are covered.
The most reliable plumbing pressure test is not the one with the highest number on the gauge. It is the one that follows the specification, uses the right method for the system, gives joints time to reach their proper condition, and produces a clear record. Whether the pipe is PPR for domestic water or HDPE for a larger main, the test is a checkpoint. Treat it as part of the installation, and it will do its job: catch problems while they are still easy to fix.

-
 No. 61, Jian-an Road, Xingta Industrial Park, Jinshan District, Shanghai, China.
-
 judy@zhsu.com
-
 +86-15728041804
Copyright © Shanghai Zhongsu Pipe Co., Ltd. All rights reserved. PPR Pipe and PPR Fittings Solutions PPR Piping Manufacturer in China
