
 English
 Français
 русский
 Español
 Português
 عربى
 italiano
 Polskie
 Deutsch
 Nederlands

Hydrostatic Pressure Test in Plumbing: Procedure, Readings and Pass/Fail
Content
Anyone who has stood in a half-finished bathroom watching a pressure gauge drift downwards knows the feeling. A hydrostatic pressure test is the moment a plumbing system stops being a drawing and becomes a promise: that the pipework will hold water for decades, including at the joints nobody will ever see again.
We have been manufacturing PPR and HDPE pipes and fittings since 2004, and we have watched a great many systems go through this test. The procedure itself is not complicated. What separates a meaningful result from a meaningless one is usually patience, preparation and a few small habits.
What a Hydrostatic Pressure Test Really Proves
A hydrostatic test fills a closed section of pipework with water, raises the internal pressure to a set level, and then watches whether the pressure, or in a drain line the water level, stays where it was put. That is the whole idea. No dye, no smoke, no camera: just water, a gauge and time.
The test answers two separate questions, and it helps to be clear about which one you are asking:
- Strength: can the pipe, fittings and joints carry the pressure without deforming, cracking or pulling apart?
- Tightness: does the assembled system leak at a fusion joint, a threaded connection, a valve gland or a test plug?
Supply lines are tested under pressure with a calibrated gauge. Drain and sewer lines are tested at low head with a plug and a marked water level, which proves tightness but says nothing about pressure capacity. Confusing the two is one of the most common sources of argument on site.
How the Test Runs on Supply Piping
On a new installation, the sequence below is the one most contractors follow, and it works just as well for a renovation where new pipe meets old.
- Isolate the section under test. Close valves, bypass the water heater, and make sure nothing can back-feed from another part of the building.
- Fill slowly from the lowest point so that trapped air can escape instead of compressing and later imitating a pressure drop.
- Vent at the highest outlet until water runs without sputtering, then close it.
- Fit a calibrated gauge and record the starting pressure. A gauge that has been bouncing around in a van is not a measuring instrument.
- Pressurise in stages, letting the system stabilise before the clock starts.
- Hold and observe for the full period the specification requires, commonly thirty minutes to an hour.
- Walk the pipework while it is under pressure. Check every fusion joint, threaded transition, valve and plug, and write down the start and end readings.
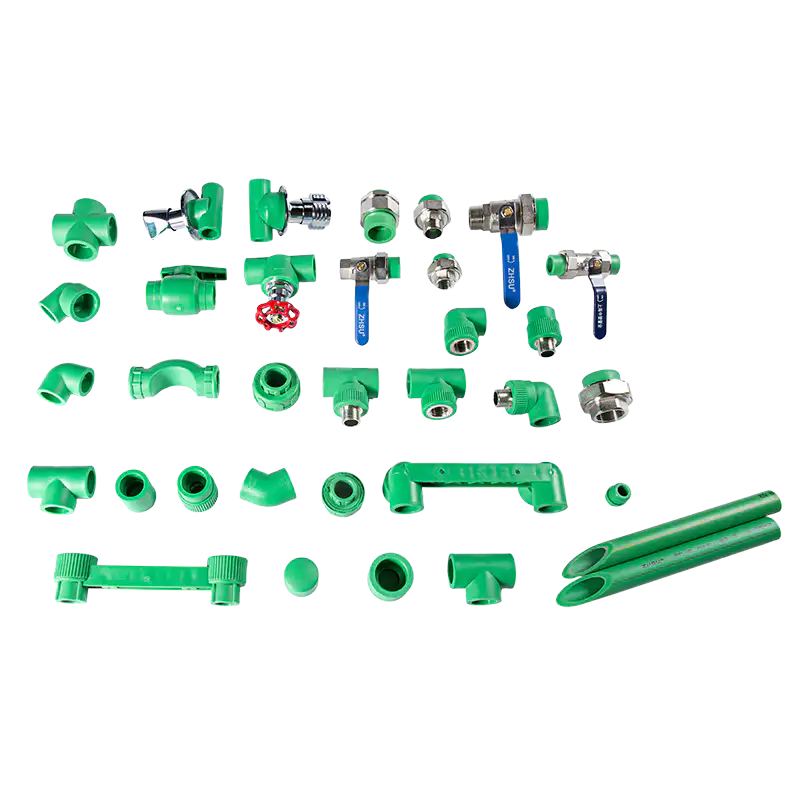
Use components rated comfortably above the test pressure, and confirm that the test pressure itself does not exceed what the weakest item in the run can take. For domestic work the material under test is often a PPR pipe for water supply, whose rated pressure should be read from the product data rather than assumed.
The Drain and Sewer Version
The drain version is a different animal, and most homeowners meet it during a property transaction rather than during construction. A plug is set in the main line at the cleanout, the stack is filled with water until it stands at a known height, the level is marked, and the system is left alone for fifteen to thirty minutes.
A stable level means the buried line and its joints are holding. A falling level means water is escaping, but before anyone starts digging, rule out a leaking plug, a vent that is siphoning, or water finding its way into a floor drain that was never plugged.
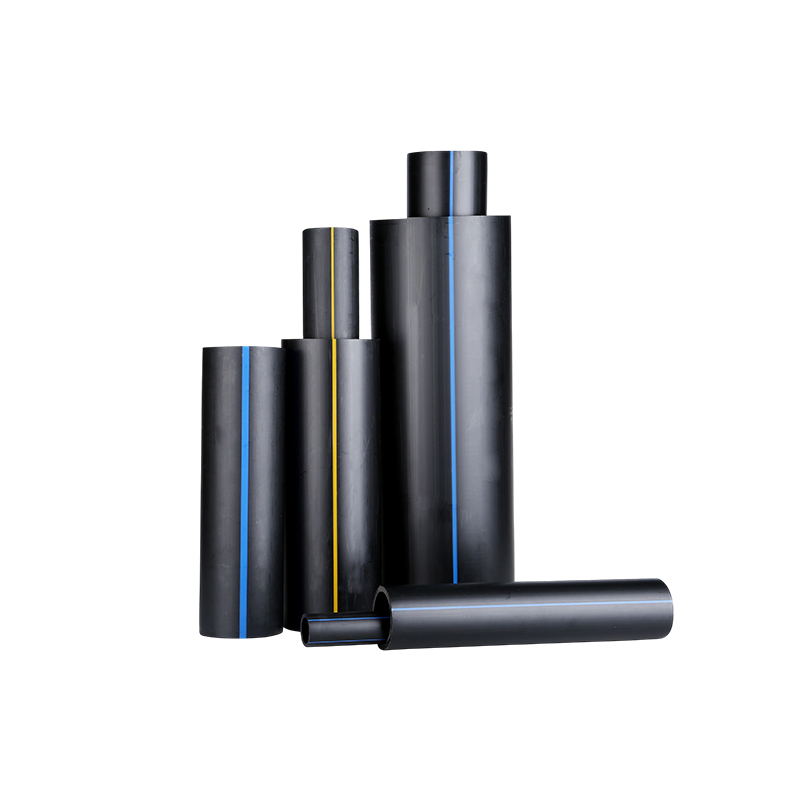 HDPE Water Supply Pipe for Buried LinesPE100 water-supply pipe from 20 to 1200 mm with fusion joints, suited to buried lines where joint performance is critical.View Product →
For underground runs, high-density polyethylene is the usual choice because well-made fusion joints behave predictably under this kind of test. If the line is being renewed rather than merely inspected, size the HDPE pipe for the duty it will actually see, not just for the test.
| Aspect | Supply line pressure test | Drain or sewer test |
|---|---|---|
| What you watch | Gauge pressure | Water level |
| Typical equipment | Pump, calibrated gauge, valves | Test plug, cleanout access, tape measure |
| Typical duration | 30 to 60 minutes | 15 to 30 minutes |
| What it proves | Strength and tightness | Tightness only |
Choosing Test Pressure and Hold Time
There is no single global number. Codes, specifications and client requirements all differ, and the figure that matters is the one written into the project documents. A few principles travel well, though.
- Test pressure is usually set as a multiple of the design working pressure, with 1.5 times a very common starting point, plus a floor value so small domestic systems are still tested meaningfully.
- Plastic pipe needs a moment to settle. Rigid metal reaches its reading almost immediately, while polymer systems often creep slightly in the first few minutes, which is why a stabilisation period before the timed observation matters.
- Temperature moves the gauge. A run filled with cold water in the morning and warmed by the afternoon sun will show a rise, not a leak.
- Do not over-pressure to prove a point. Pushing a plastic system beyond its rating risks damage that only appears months later.
Where hot water is involved, material choice does part of the work. PP-RCT pipe retains its mechanical properties at higher temperatures than standard PP-R, a difference that shows up clearly in hot water circulation and high-temperature supply lines.
When a Test Is Worth Doing
The test costs a couple of hours; cutting into a finished wall costs far more. It earns its keep at these moments:
- New rough-in, before walls are closed or screed is poured.
- After a repair, especially where a joint was cut into an existing run.
- Before handover, as part of commissioning.
- During renovation, when new pipe meets old.
- When buying a property, where the drain line is the part most often worth verifying.
When a Failure Is Not the Pipe's Fault
Plenty of tests fail without a drop of water escaping. Before cutting anything out, work through the usual suspects:
- Air still trapped in a high loop, slowly compressing and pulling the gauge down.
- A gauge that reads low, or sits at a point that is not representative of the run.
- A plug or test cap that is not seated, or a valve passing internally.
- Threaded joints assembled wet, still weeping at the tape.
- Thermal movement, as described above.
The Pipe and Fitting Side of the Test
A result is only ever as good as the components being tested. Most failures we hear about trace back to a joint rather than to the pipe body: a fusion that was rushed, a thread that was over-tightened, a fitting chosen for convenience rather than compatibility.
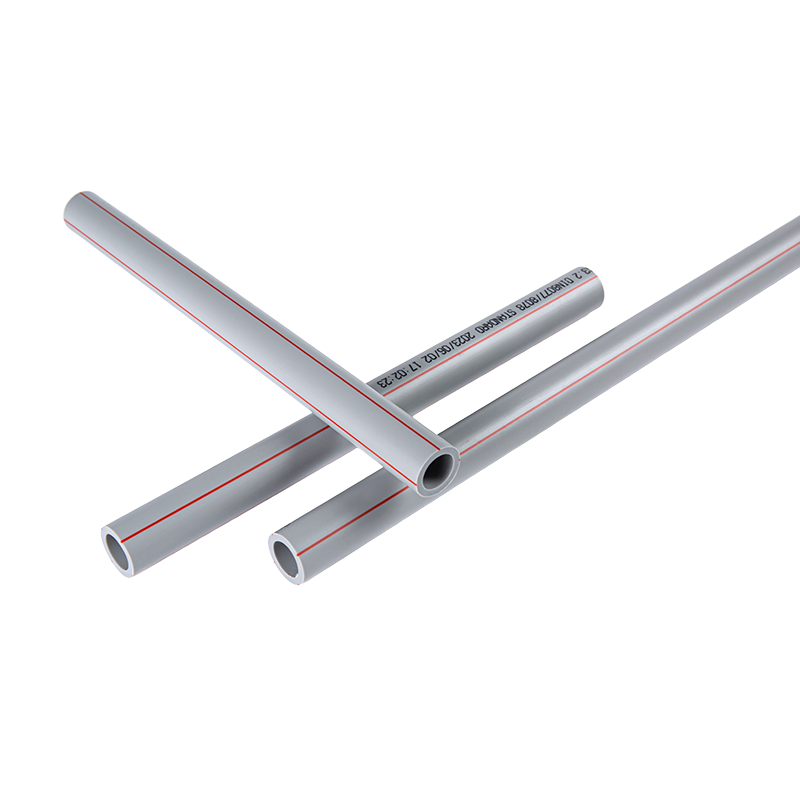 PPRCT Pipe System for Hot and Cold WaterPPRCT pipe and matching fittings in 20–160 mm for hot and cold potable water, heating and solar systems, with fusion or threaded joints.View Product →
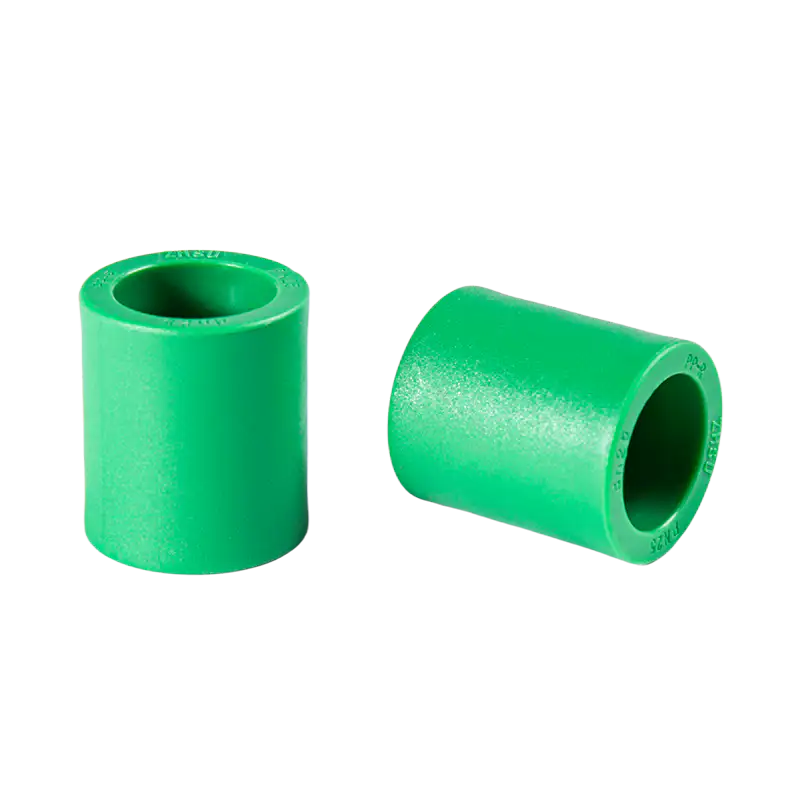
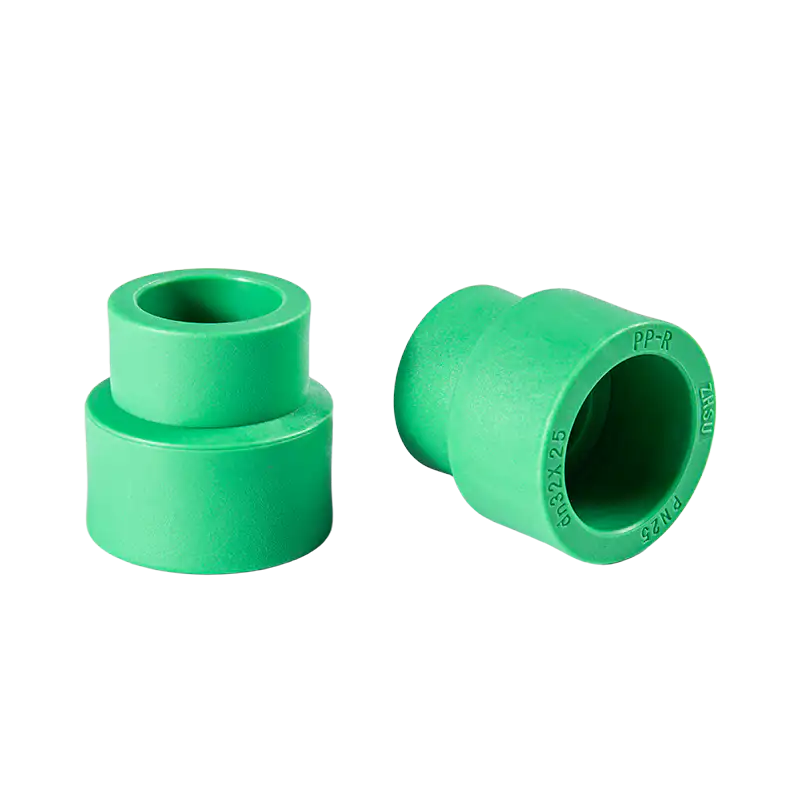
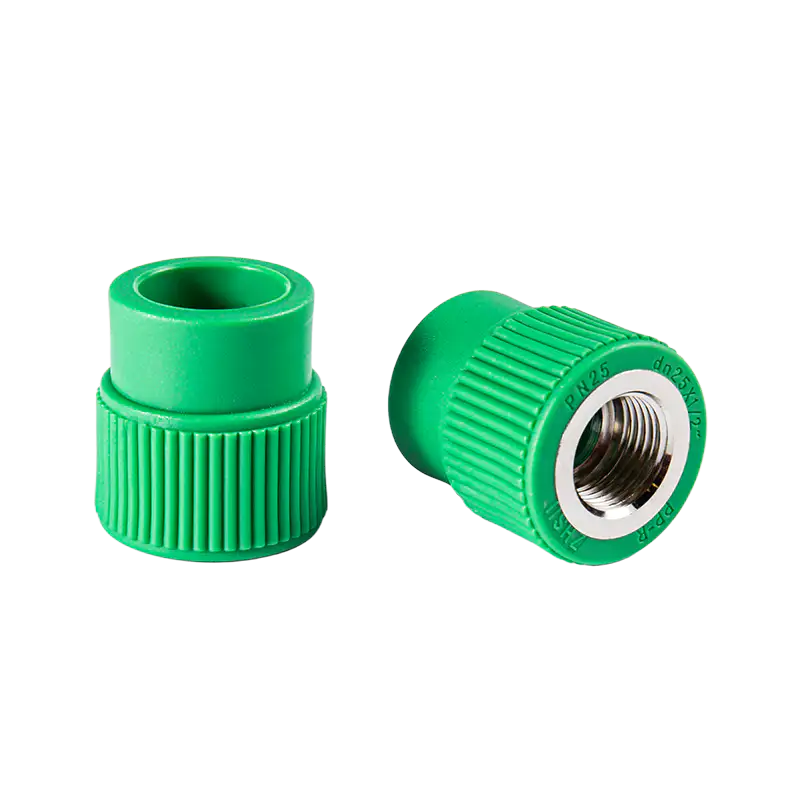
On the PPR side, pipe and fittings should come from the same material family and the same dimensional standard, so the fusion or threaded interface behaves predictably under pressure. Recent work on higher temperature and pressure resistance in PPR compounds is a reminder that the material itself is part of the safety margin.
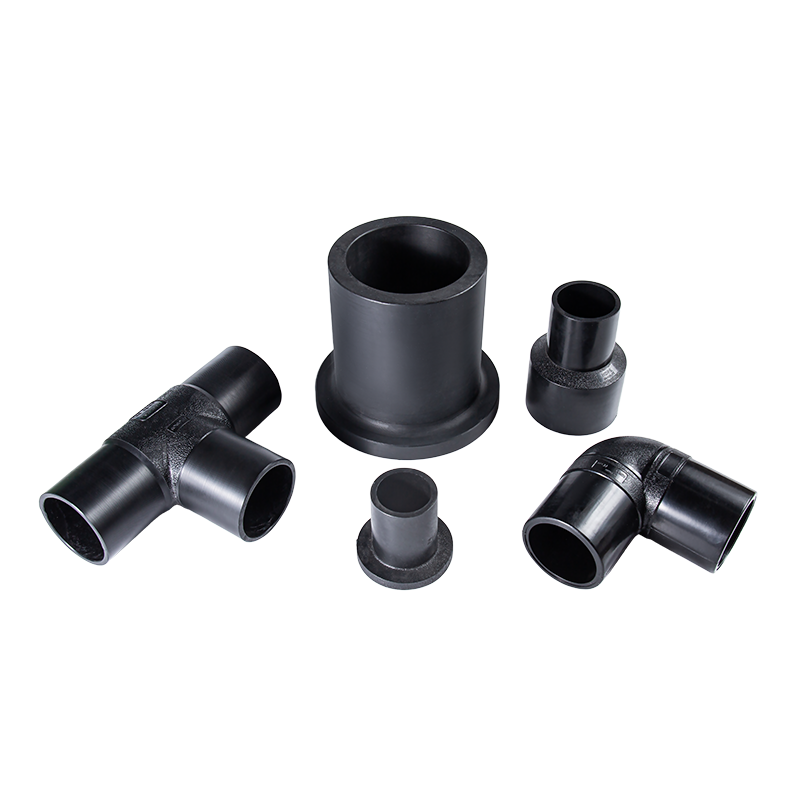 Butt Fusion HDPE Fittings for Large-Diameter PipingPE100 butt-fusion fittings from 63 to 1200 mm and PN 1.0–1.6 MPa for municipal water, gas and industrial HDPE piping.View Product →
On the HDPE side, the joining method defines the risk profile. Butt fusion produces a joint that behaves like the pipe wall when the parameters are right, electrofusion is more forgiving in tight trenches, compression fittings suit sites with limited equipment but depend heavily on careful assembly, and socket fusion sits somewhere in between. Whatever the method, the hydrostatic test is where that work gets checked.
We keep an accredited laboratory on site for exactly this reason. Pressure behaviour and material performance are easier to trust when they have been measured rather than assumed.
A Short Pre-Test Checklist
- Written test pressure and duration, agreed before anyone fills the pipe.
- Calibrated gauge, with the serial number recorded if the specification asks for it.
- Air vented, outlets closed, plugs seated.
- Weak components isolated: water heaters, filters, pressure-reducing valves, expansion vessels.
- A second pair of eyes walking the line while it is under pressure.
- Start and end readings written down, with time and water temperature.
A hydrostatic pressure test will not turn a poor installation into a good one. What it does is give an honest installation the chance to prove itself, quietly, before the tiles go on. Handled with a little patience, it is one of the least glamorous and most useful habits in plumbing.

-
 No. 61, Jian-an Road, Xingta Industrial Park, Jinshan District, Shanghai, China.
-
 judy@zhsu.com
-
 +86-15728041804
Copyright © Shanghai Zhongsu Pipe Co., Ltd. All rights reserved. PPR Pipe and PPR Fittings Solutions PPR Piping Manufacturer in China
